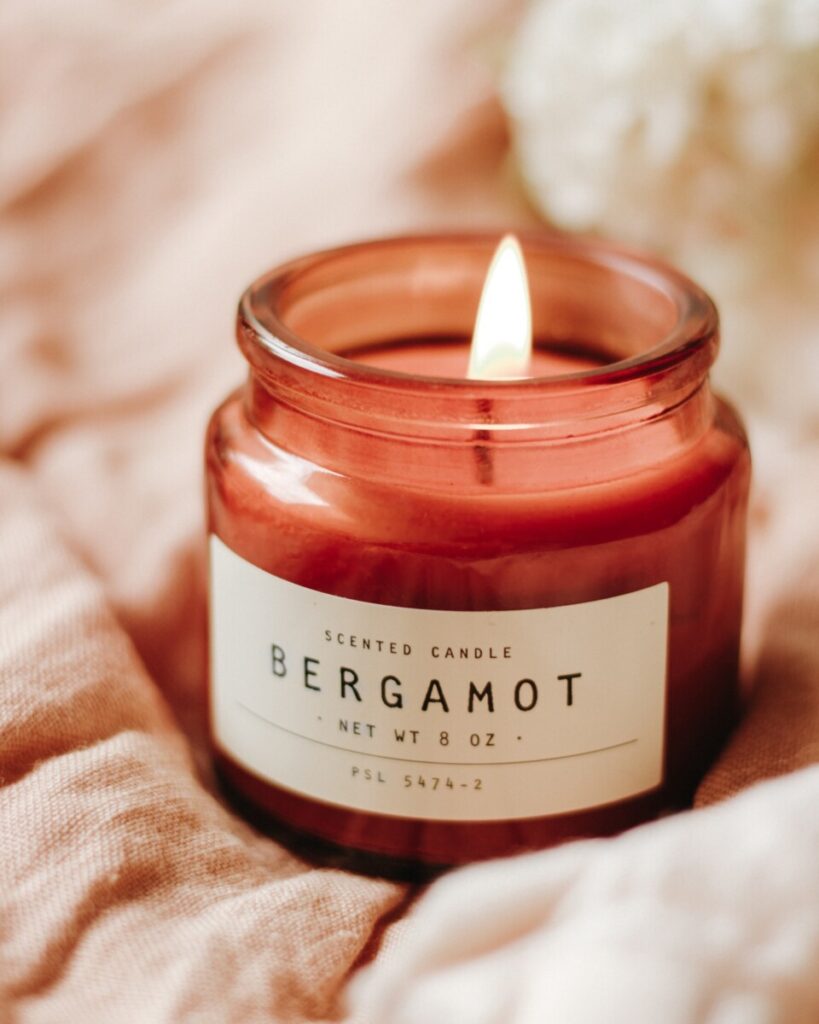
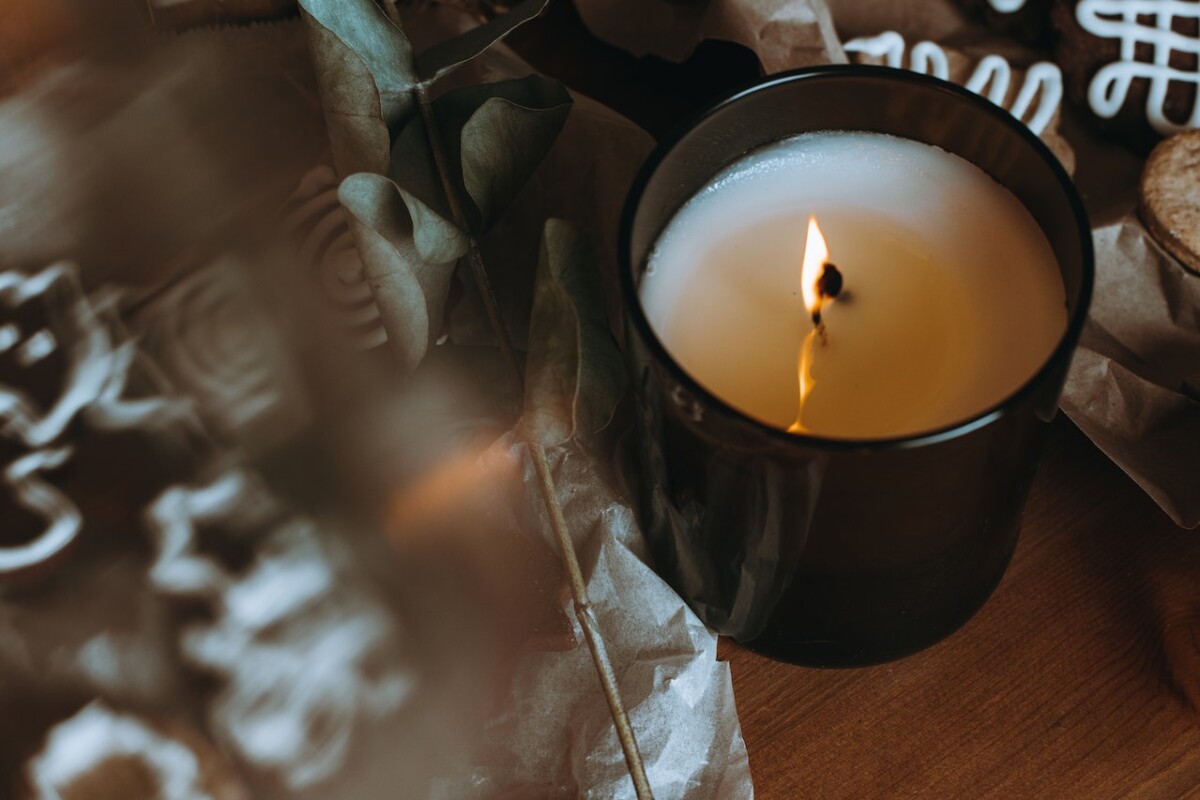
Candles are a great way to add warmth and ambiance to any room. They can also help you unwind and relax after a long day. With a few simple materials and a little bit of creativity, you can make your own scented candles at home. In this guide, we’ll walk you through the step-by-step process of making your own candle, from choosing the right wax to customizing the fragrance and style.
Step 1: Choose the Right Wax
The first step in making your own scented candle is to choose the right wax. There are several types of wax available, including soy wax, beeswax, and paraffin wax. Soy wax is a popular choice for candle making because it’s all-natural and eco-friendly. It also has a lower melting point, which means it takes less time to melt and is easier to work with.
Step 2: Select Your Fragrance
Once you have your wax, it’s time to select the fragrance for your candle. There are many different types of fragrance oils available, from fruity scents to floral aromas. You can also mix different scents to create a unique fragrance. It’s important to choose high-quality fragrance oils that are specifically designed for candle making to ensure the best results.

Step 3: Prepare Your Container and Wick
The next step is to prepare your candle container and wick. Choose a container that’s heat-resistant and fits the size of the candle you want to make. Place the wick in the center of the container and secure it in place with a wick holder or hot glue.
Step 4: Melt the Wax
Melt the wax in a double boiler or a wax melting pot. Heat the wax to the recommended temperature and stir in your fragrance oil. Make sure to stir the wax and fragrance thoroughly to ensure the scent is evenly distributed.
Step 5: Pour the Wax
Once the wax has melted and the fragrance has been added, it’s time to pour the wax into the container. Pour the wax slowly and carefully, making sure not to spill it or move the wick.
Step 6: Let the Candle Cool and Cure
Allow the candle to cool and cure for at least 24 hours before lighting it. This will ensure that the wax has fully hardened and the fragrance has had time to develop.
Step 7: Customize the Style
Once your candle has cured, you can customize the style to your liking. You can add labels, ribbons, or other decorative elements to make your candle unique and personalized.
Making your own scented candle is a fun and rewarding experience that allows you to create a unique and personalized item for your home or as a gift. With a little bit of practice, you can experiment with different fragrances and styles to create a candle that perfectly fits your taste and personality. So, why not give it a try and see what you can create?


